I did homemade Anko (red bean paste) the other day.
And after that, I made Yokan using the Anko.
To be accurate, I made two layers of jelly.
The bottom part is Yokan, and the top part is milk Kanten jelly.
Now I will share the recipe, but if you are not interested in milk kanten jelly, you just need to read Yokan part!
Making Yokan and Milk jelly separately!

This Kanten(agar) jelly is so simple.
You just need to make Yokan part and the Milk jelly part separately.
First, let’s work on Yokan!
(For Yokan, you can use your homemade Anko, too)
Here’s the recipe!

How to make “Yokan” with Anko (red bean paste)
Ingredients
Anko (red bean paste) 500g
Kanten 1
Water 500 cc
Sugar 40~50g
Recipe
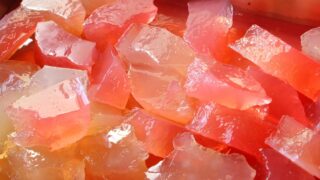
After you wet the Kanten, tear apart it and dissolve it in water (medium heat)

.
.
When the Kanten is dissolved, add sugar and anko and stir them very well.


I used Tsubuan, but of course, you can use “Koshian”, too!
.
.
Pour it into a heatproof dish and leave it until it’s solid.


.
.
When it’s solid, Yokan is done!


This is homemade Yokan!
How to make Milk Kanten jelly
Ingredients
Kanten 1
Milk 200cc
Water 400cc
Sugar 80~100g
Recipe
After you wet the Kanten, tear apart it and melt it on medium heat.

.
.
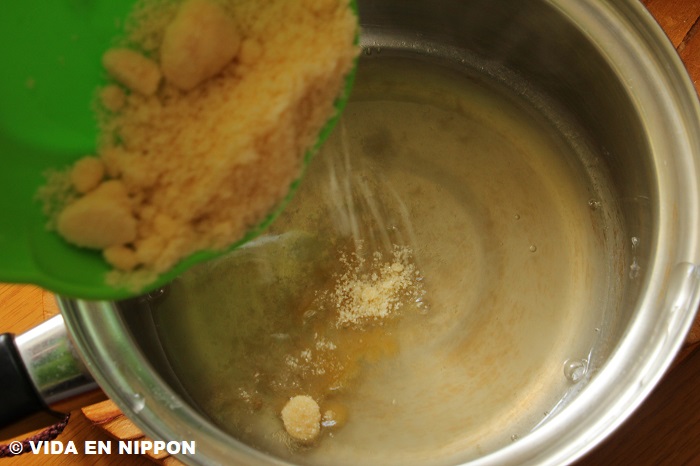
When the Kanten melted, add sugar. (low heat)
.
.
When the sugar melted, add milk and stir it well. (low heat)
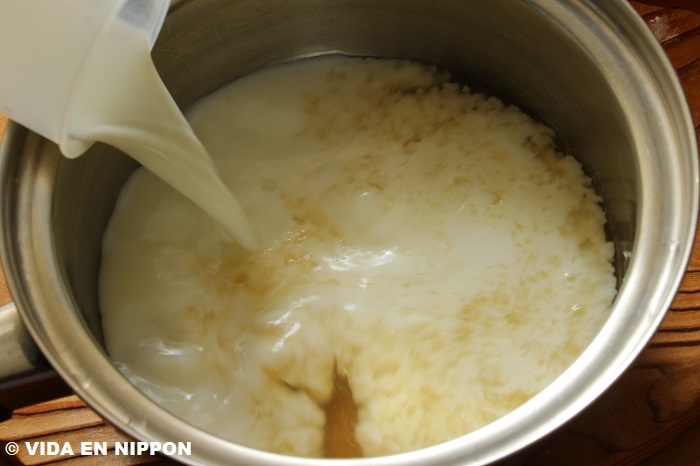

Milk Kanten jelly is almost done!
Pour Milk Kanten to Yokan
Pour the Milk Kanten liquid to Yokan.

.
.
Leave it until it’s solid.

.
.
DONE!!!

Homemade Yokan and milk kanten! 2 layers Kanten jelly!

These are the two layers of Kanten jelly.
I thought the combination of Yokan and Milk Kanten is so good!
Especially when Kanten Jelly it’s cold, it was so delicious!!

Making this dessert took a long time, but it was worth doing!
.

I also used small containers made of silicon.
It was easy to remove the jelly from the cup, and it looks so cute!

This Japanese-style dessert is perfect in the summer!
If you have a chance, please try it!


![[商品価格に関しましては、リンクが作成された時点と現時点で情報が変更されている場合がございます。] [商品価格に関しましては、リンクが作成された時点と現時点で情報が変更されている場合がございます。]](https://hbb.afl.rakuten.co.jp/hgb/1fbbdc10.01c9a371.1fbbdc11.51241ad4/?me_id=1261122&item_id=10901158&pc=https%3A%2F%2Fthumbnail.image.rakuten.co.jp%2F%400_mall%2Frakuten24%2Fcabinet%2F115%2F4901601211115.jpg%3F_ex%3D240x240&s=240x240&t=picttext)

